by jber80 | Apr 3, 2024
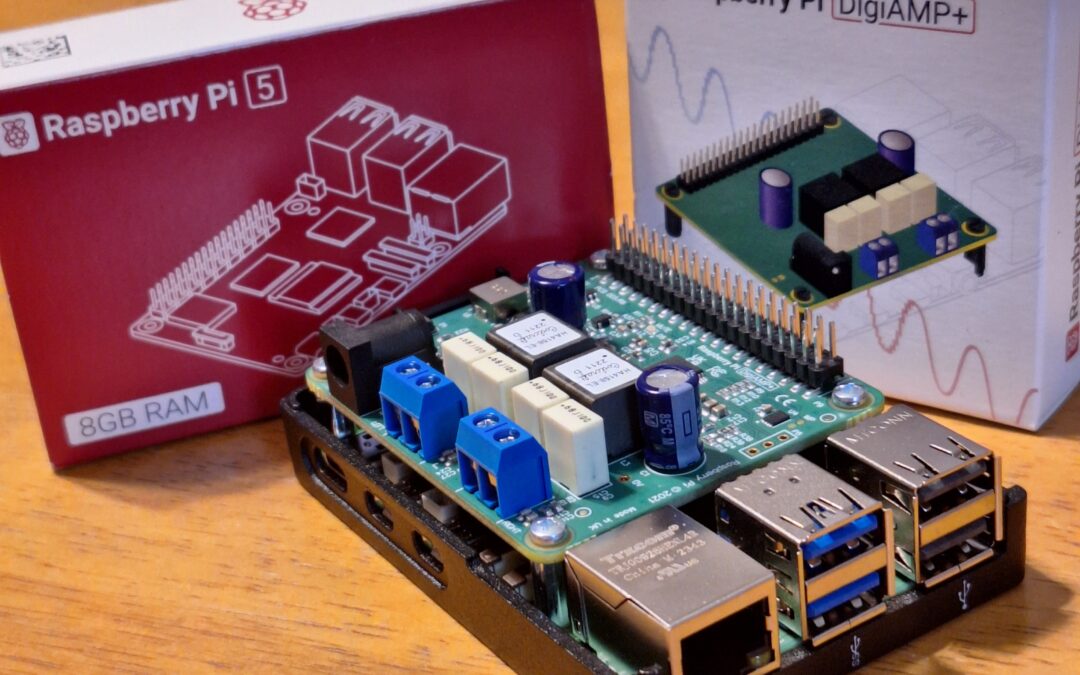
I received the AMP in the mail yesterday and got to install it tonight. The AMP for the audio is a separate piece called a HAT (hardware attached on top). On the above image you can see it attached to the top of the Raspberry Pi (rPi) Pictured below is the rPi without...
by jber80 | Mar 28, 2024
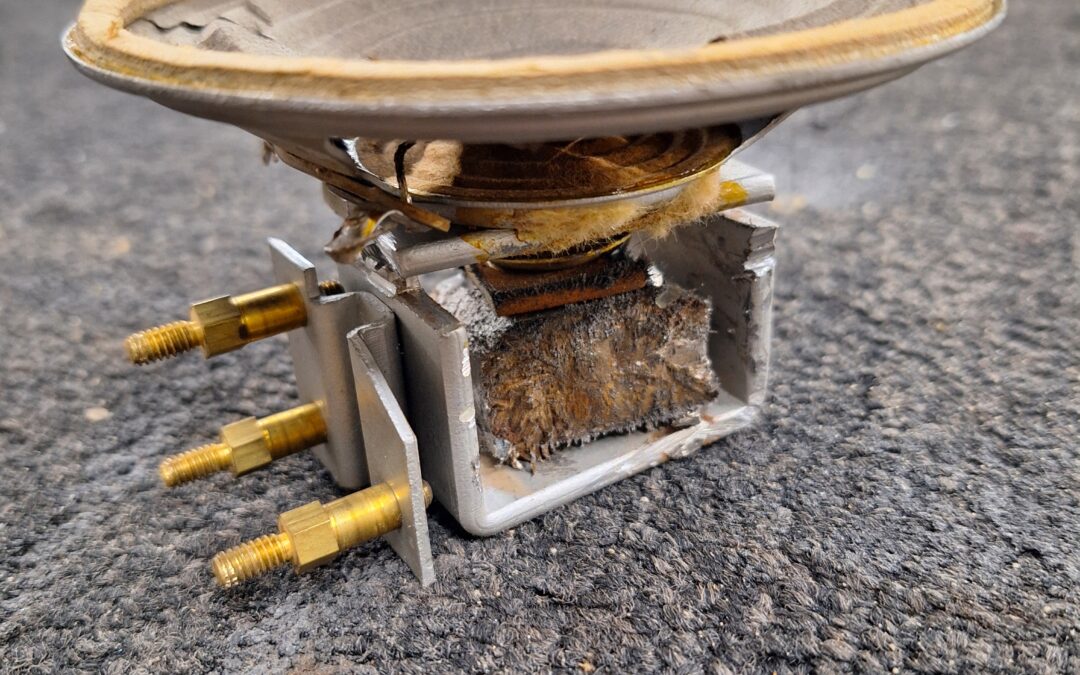
The speaker was tacked welded into that “C” piece which was then tacked to the 3 posts piece. I used a air hand grinder to break all the weld points to separate everything. I wanted to keep those three posts for I could somehow affix the new speaker to...

by jber80 | Mar 28, 2024
I believe I’m at the point where I can see how much space I will have available to place the computer and audio amplifier. It appears like just enough space to make things work. I received the Raspberri Pi (computer) yesterday and haven’t got to place in...

by jber80 | Mar 28, 2024
After clipping what felt like a hundred wires and soldering points I got the bottom mostly cleaned. Above is a photo of the wiring before I started. The image on the right is halfway through pulling the tubes out. Those metal towers are riveted in along with a few...

by jber80 | Mar 28, 2024
There is A LOT going on inside this radio. I didn’t know what to expect upon opening. The birds-eye photo we can see a bunch of tubes plugged in with various other things like the speaker, a lightbulb, broken strings (in the bottom photo) that used to activate...
by jber80 | Jan 4, 2024
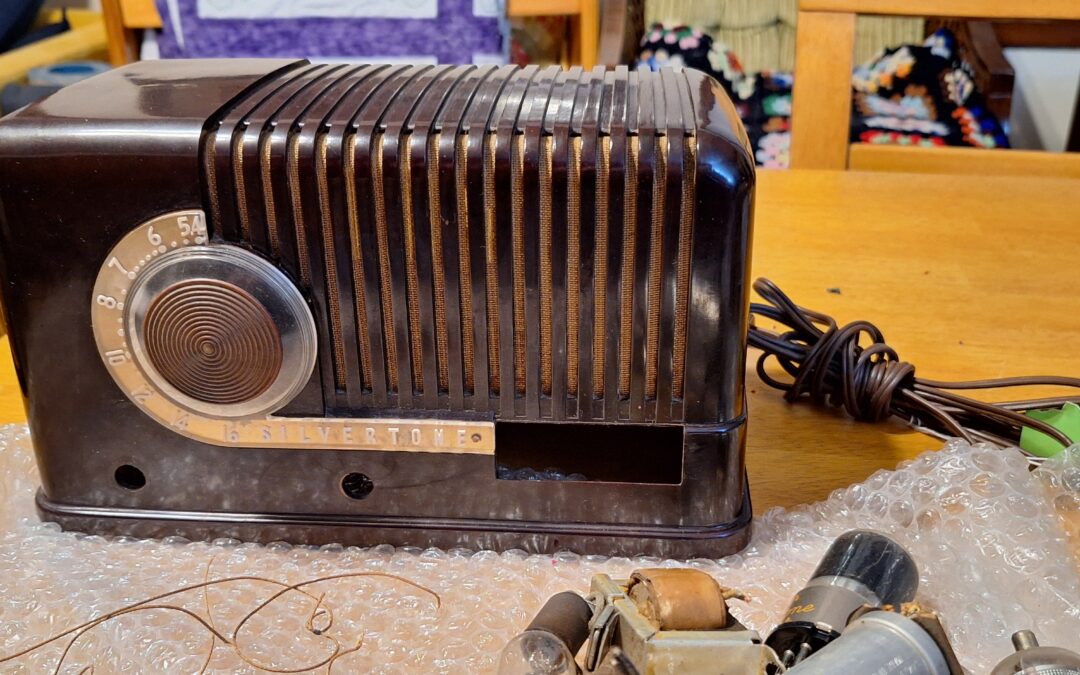
This is a project to make this old radio alive again. The idea is to replace the old parts with a modern computer inside that will play old music, radio shows and commercials. Ideally I want to use the orginal power dial to turn everything on. Once powered on...